alliums ameraucana Anthony Bourdain aphids Appleseed Permaculture aquaponics arthritis artichokes Asian Vegetables aussie basil baby chicks baby turnips bearss lime bee keeping beet greens beneficial insects benner tree farm Biochar Bitter Melon blight blooming hill farm boothby blonde cucumber brix broccoli brussels sprouts cabbage cabbage hill farm camp hill farm cancer caraflex celeriac chicken coop chickens children chinese tamale chives cilantro cilantro root coconut cold frames collard greens Compost coriander corn crop rotation cruciferous crucifers cucumber Dan Barber dan kittredge Dave Llewellyn detox dirty dozen dragon fruit Dutch white clover dwarf citrus eggplant Elderberries factory farms farm to table farmer's market farmers markets Fava beans ffarm to table fish oil flea beetle flowers food allergies food combining food miles founding farmers four wind growers Fred Kirschenmann french bulldog G6pd deficiency garlic garlic festival garlic scapes geese Glynwood grass-fed beef Great Outdoors Listening Tour green tomatoes greenhouse growing indoors Hanalei Hemlock Hill Farm heritage turkey heritage USA hudson valley farms hurricane Irene hyssop iced tea infections influenza Insect control isothiocyanates joan gussow jolie lampkin joong kaffir lime kale Kauai kohlrabi korean licorice mint Ladybugs late blight leeks lettuces local food locust tree maine avenue fish market menhaden meyer lemon mycelia mycorrhizal natural fertilizers nectary nightshades No Reservations Nurse cropping nutrient density okra organic Baby food organic christmas tree Organic Pest Control Parsley Paul tappenden peas Permaculture pesticides pesto petite watermelon plant sap pH plymouth barred rock pole beans potatoes preserving food purple basil qunice Radish Greens rainbeau ridge farm raised beds rampicante raw food real food campaign red hook Rockland Farm Alliance ronnybrook farm row covers salt-preserved duck eggs sambucus nigra seed saving seedlings Sheet mulching small space soil analysis soil blocks soil conductivity sorrel Squash Vine Borer star fruit sugar snap peas sustainability sustainable fishing Swiss Chard tabbouleh TEDx Manhattan terracing three sisters tomato sauce tomatoes trellis trovita orange turkana farms Tuttle Farm urban zen volt white clover winter harvest Winter Squash Young Farmers Conference
Indispensable Books and Resources
  • Edible Forest Gardens (2 volume set)
    Edible Forest Gardens (2 volume set)
    by Dave Jacke, Eric Toensmeier
  • The Winter Harvest Handbook: Year Round Vegetable Production Using Deep Organic Techniques and Unheated Greenhouses
    The Winter Harvest Handbook: Year Round Vegetable Production Using Deep Organic Techniques and Unheated Greenhouses
    by Eliot Coleman
  • The Biological Farmer: A Complete Guide to the Sustainable & Profitable Biological System of Farming
    The Biological Farmer: A Complete Guide to the Sustainable & Profitable Biological System of Farming
    by Gary F. Zimmer
  • The Garden Primer: Second Edition
    The Garden Primer: Second Edition
    by Barbara Damrosch
  • 1500 Live LadyBugs - A GOOD BUG! - Lady Bug
    1500 Live LadyBugs - A GOOD BUG! - Lady Bug
    Organic Insect Control
  • Acres U.S.A.
    Acres U.S.A.
    Acres U.S.A.

    The best farming and growing magazine money can buy!

  • Seed Starter Soil Block Maker Makes 4 Medium Blocks
    Seed Starter Soil Block Maker Makes 4 Medium Blocks

    2" Soil Blocker

  • Mini Soil Blocker
    Mini Soil Blocker
  • New York City Farmer & Feast: Harvesting Local Bounty
    New York City Farmer & Feast: Harvesting Local Bounty
    by Emily Brooks
  • What Doctors Eat: Tips, Recipes, and the Ultimate Eating Plan for Lasting Weight Loss and Perfect Health
    What Doctors Eat: Tips, Recipes, and the Ultimate Eating Plan for Lasting Weight Loss and Perfect Health
    by Tasneem Bhatia, Editors of Prevention


THE DAILY BROADFORK

Short journal entries detailing the nuts and bolts of our ventures in growing food at our micro-farm

Entries by Charlie (6)

Monday
May282012

Reclaiming Your Own Locust Trees for Use

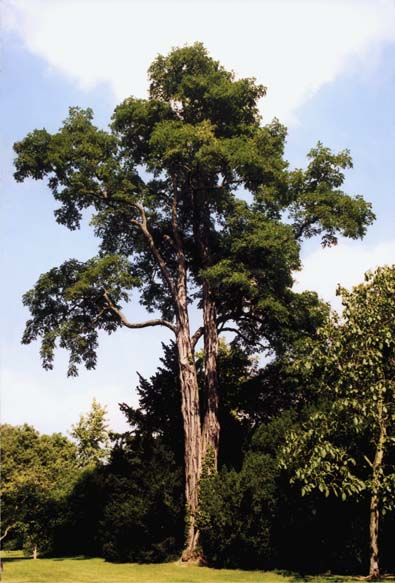
The Locust tree has become a common tree weed that nobody wants. It grows really tall. It often has no other branches other than the ones 60 feet up at nearly the top. It drops debris everywhere. It propagates like no other tree. And oh yeah, it is the tree most likely to fall directly on your house right from the base as the entire flat root system rips up from the ground and tips the entire tree over with no break in the actual trunk. I have seen it. It sucks.

When Hook Mountain Growers expanded the growing area it was necessary to remove 4 Locust trees from our property. The "green" part of me felt bad. Not that bad though as I realized I still had about 4 dozen other Locust on the property to prevent extinction of the species.

For the task I consulted with John Wickes arborists. They have been doing this type of work for 3 generations and are the best at it. Before having the trees removed and all proper permits lined up, I did some research on the Locust tree to see what we could do with it. At the time, I figured even firewood seemed like a good idea. I was pretty surprised at what I found.

Locust, especially black Locust, is some of the most structurally sound wood available and has been found to last 80 years. There are stories of farmers who use the stakes in their fields for 30 years and when they wear down they turn the stakes over and use the other side.

The reason for the natural rot resistance of Locust is due to the presence of tyloses in the wood which makes the wood very water tight. There are also natural extracts present which impart an antifungal property to the logs.

So the first step in utilizing the wood on your property would be to discuss with your tree removal team what size pieces you need and if you want them to save the chip for you.
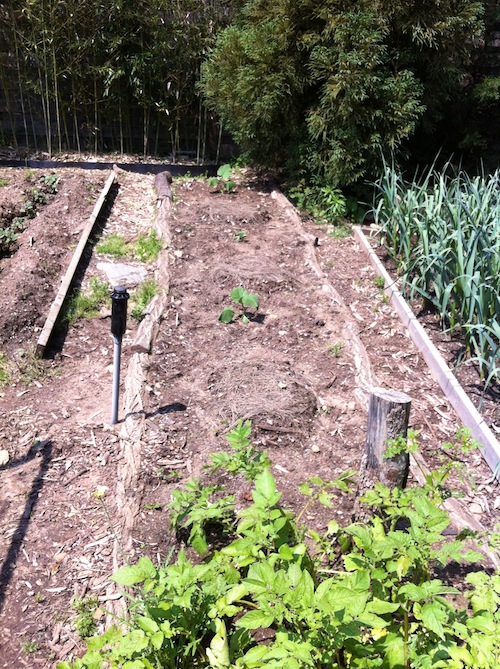
I decided on 6 foot pieces as well as 3 inch thick pieces to use for stepping areas in beds. We also had them save us about 15 yards of mulch after the remaining tree pieces were passed through the chipper.

Here is what you can do with you locust wood:

Large Bed Borders
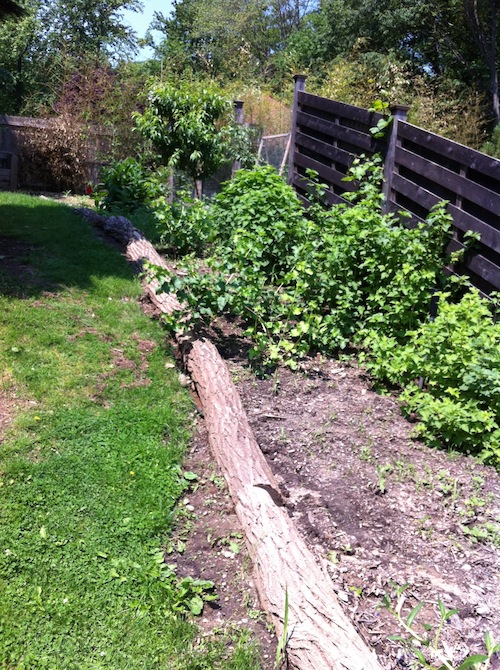
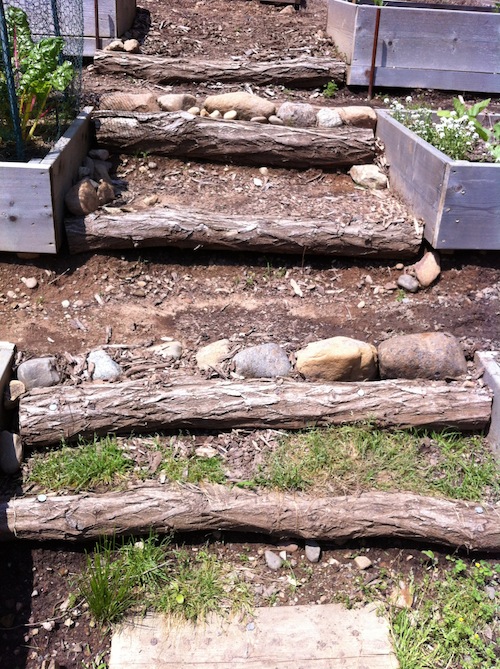
Steps for stairs down a slope:


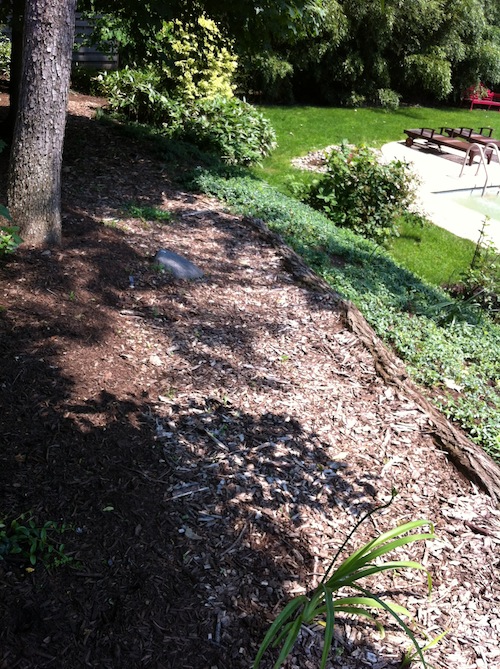
Wood Chips for pathway:


Raised bed border:


and if you want to sand and stain the wood:
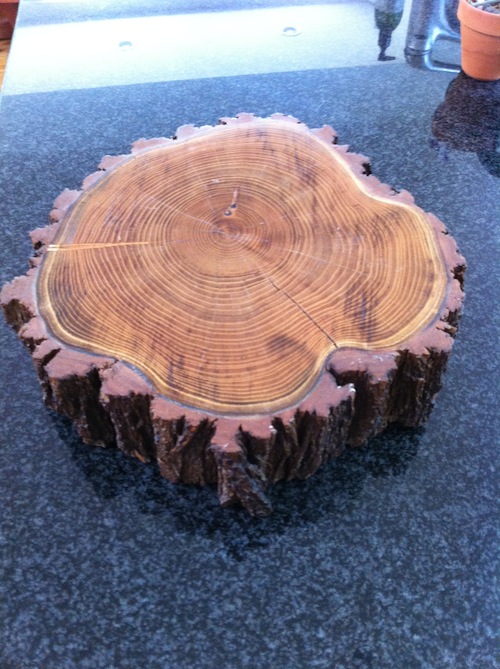
Hope that inspires some ideas for all us Locust haters!
Monday
Sep052011

Compost is Nice

AFTER
For all of us who lug their kitchen scraps outside in the cold and dark....who scour their home looking for brown material (carbon) to match the easier to find green matter...who layer their compost bin precisely as outlined in the textbooks...who turn their pile daily to ensure the proper aerobic bacterial population....good for you. For those of us who simply throw anything we can find into the pile and manage to turn it when the inspiration or energy seems to strike (once a week)....good for us too! For this week HMG has finally produced some really nice compost following the lazy plan.

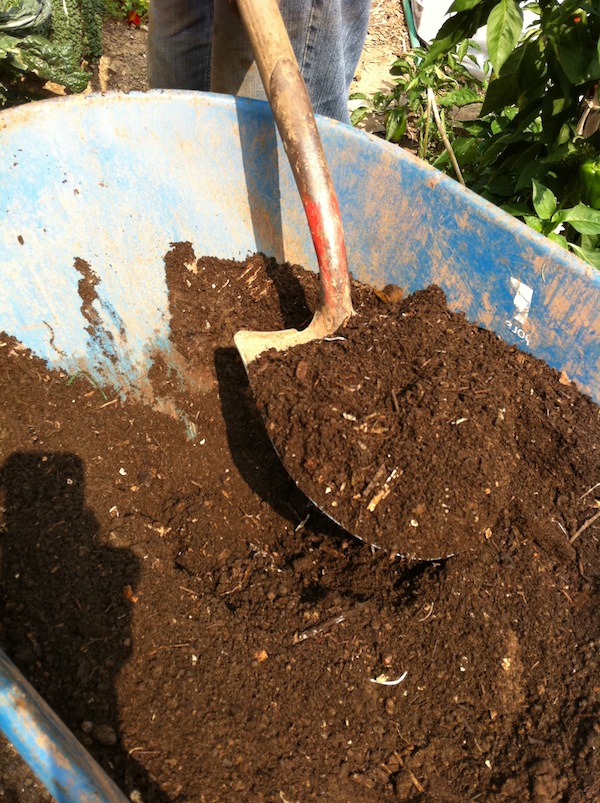
Compost when finished is a nice sight. Money savings becomes real, a forty pound bag of compost can cost between 5-12 dollars depending on where you get it, plus you have to take time to transport it as well as carry it everywhere.

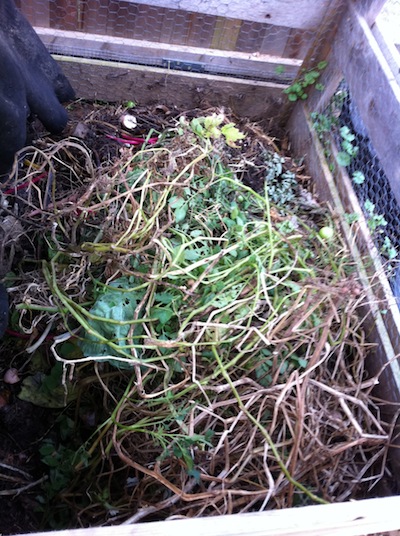
Using a three bin system, HMG has produced what appears to be about 6-8 forty pound bags worth this season. Adding kitchen scraps, brown vegetable plant branches, occasional leaves (not too many) and a sprinkle of fireplace ash, we have made some pretty respectable looking compost.

We have found with minimal attention compost is really not difficult to make. The most important aspects are to make sure you get some brown matter in there as well as to periodically turn the pile so as to prevent anaerobic bacteria from kicking in. You will know if this happens as your compost pile will begin to smell like takeout fish that was left in the car overnight. If this happens, simply turning the pile over a few times instantly cures the problem. We have found a small pitchfork the best for doing this.

BEFOREApplying the compost to needy beds is definitely a great feeling. For those of us who do this without the benefit of high heat compost, which is usually done with machine turned piles or piles which have air blown into them, we will see a nice seedling bed soon of every vegetable we have eaten for the past 6 months as those seeds have not died in the pile. Obviously this is not desired, although seeing 200 tomato seedlings in a 10 x 4 foot raised bed is interesting, simply raking them in or pulling the seedlings seems to be the best management option....and is there anything more sustainable then making your own compost? I don’t think so!


Charlie

Tuesday
Mar292011

The Man That Went Up A Hill And Came Down A Terraced Growing Area

The slope in transitionIf you stand on your property and find that you have hills, slopes, mountains or just plain bumps in the ground and if you have tried to grow on these areas, you may have realized that Newton’s Law of Gravity was right....all things do go down. Especially the beautiful organic top soil you placed on the hill to grow on. Unless you have perennials growing with a nice root ball holding everything in place, all your good intentioned soil will be found on the bottom of the hill come spring planting time. Here at HMG we too have a little bit of a hill problem. For the past few years we have just dealt with it and once the plantings rooted everything was fine. However the tremendous amount of rain this late winter has once again led to the discovery of a pile of beautiful top soil....at the bottom of the hill. But alas....I will be foiled by this hill no more.

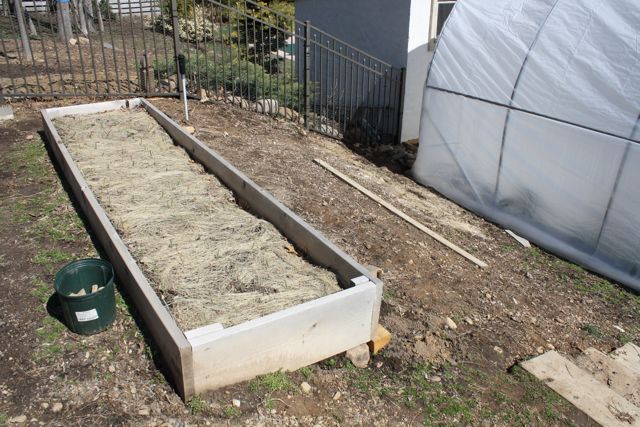
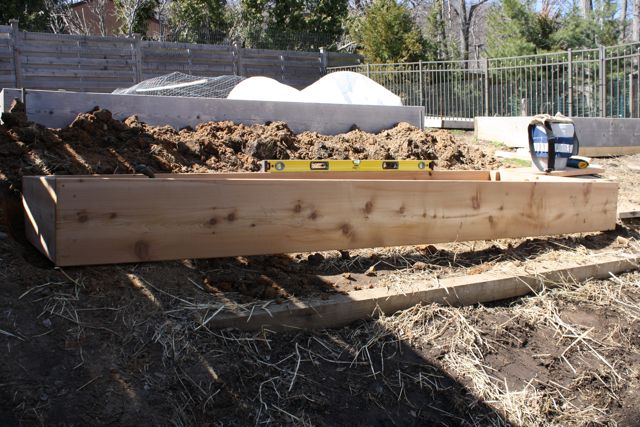
This blog entry will describe a fairly simple terracing system which should allow for hill growing with no erosion of soil. We will utilize raised beds to create steps in the slope with small walkways between each bed.

One can find many formulas on the internet for calculating the slope/rise/run/square root of pi=mc squared.....to calculate how many beds are necessary to make to overcome your slope. I prefer the common sense method. I typically look at the slope, use an old stake....and then try to make it so the front of each bed will be equal to the back of the bed downhill from it.

This job will require the construction of standard cedar raised beds. We have described their construction somewhere else. In summary, you are building a square bed with 2 x 12 inch cedar.

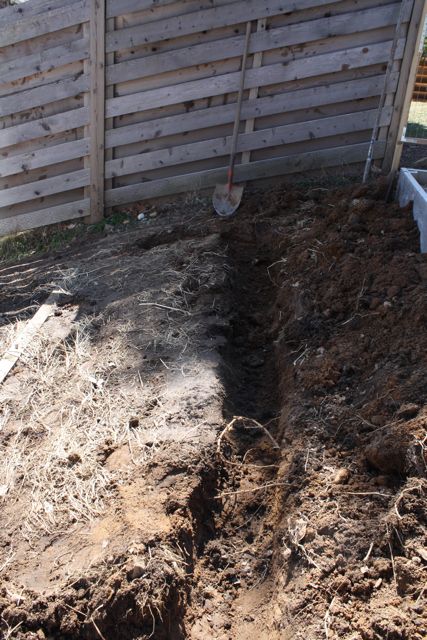
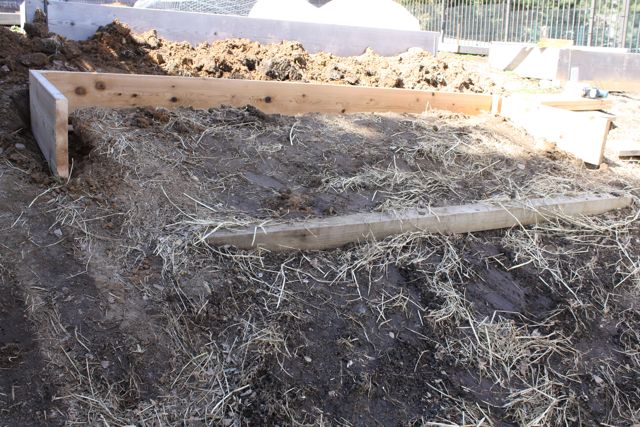
The hardest work in this job will be digging out the back of each bed to sit your raised bed into the earth. The back part of the raised bed may be almost entirely covered with soil depending on the grade of your slope.

What also is important is adding a system to prevent your raised bed from sinking or sliding forward over time. You can either hammer stakes into the ground in front of the front part of the bed or inside the raised bed in front of the back part of the bed. I like to affix the raised bed to the stakes using some outdoor decking screws.

After you have your raised beds set into the ground it is imperative to place a level on the top of it to make sure it is level front to back and side to side. If you skip this step it is almost guaranteed that you will suffer the pained look of your in laws as they question: “Is that crooked?”.


Thats all for now. Good luck with that hill!

Tuesday
Mar222011

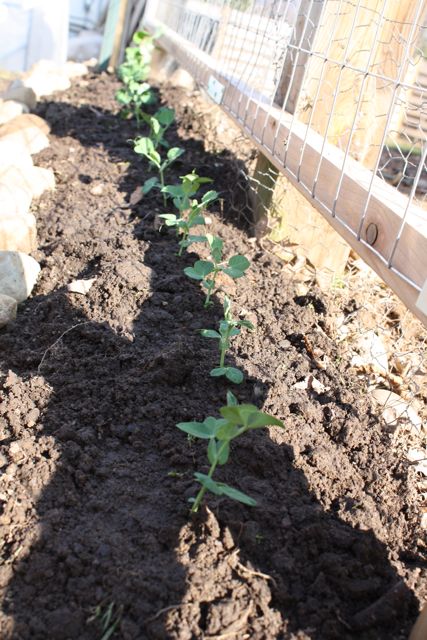
Higher Peas, More Peas: Constructing a Simple Trellis

Pre-sprouted Peas. Hopefully they will survive the upcoming hard frosts in the next few nights. Was Phil wrong? Where's Spring?After three seasons of growing legumes, I can say that every time we have planted them I have been the recipient of disappointing glares throughout the growing/harvest season when the plant quickly reached the top of my homemade trellis and the vines began their inevitable gravity fueled trip downwards. This season, I have vowed, will be different.  I will walk triumphantly amongst these fine plants as they ascend towards the heavens.

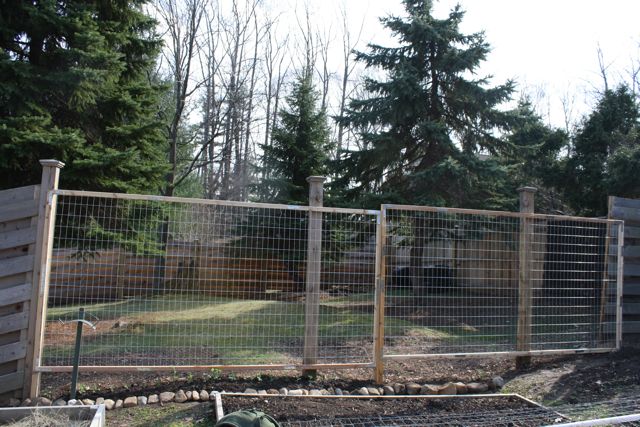
In this entry I will describe a simple homemade trellis that is both aesthetically pleasing, functional and hopefully durable. Oh yeah, and will cost less than purchasing a pre-made trellis. Oh yeah, and again, will be produced locally, by HMG’s favorite laborer, me!

A homemade trellis can be made fairly easily with the following tools: circular saw, screwdriver, drill, corner brackets, mending plates and screws. First step is to decide how big you want your trellis to be. And yes. I could not avoid saying it.  When it comes to trellises, size does matter. If you build a small trellis, it does not matter how you dress it up....you will lose all your pea plants to a larger, more confident trellis.

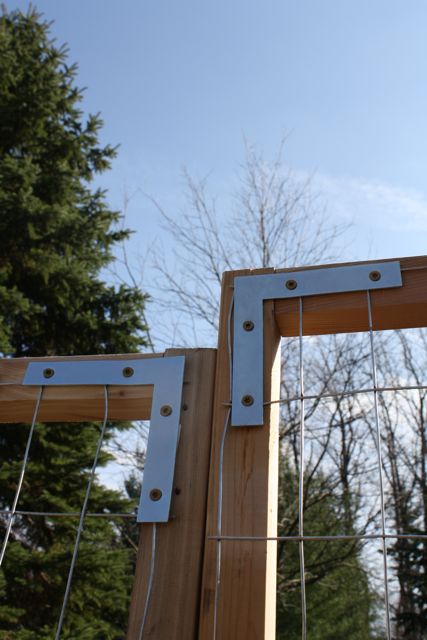
Next step is the wood. Obviously I would not recommend using any treated wood as the final product is going into your pie hole and you would not want to put anything that baked in the sun against treated wood into your mouth. That being said, cedar is a great choice as it provides natural rot and insect resistance and should last for years. I went to Beckerle’s in Congers and purchased 10 foot 2 x 4 pieces which they were kind enough to rip (cut the wood with grain-a harder cut unless you have a table saw and a large room where it is located). So I was left with 2 x 2 pieces in 10 foot lengths. The pieces are laid out in an H configuration (with the top having a piece across, so yeah not really an H but how else can I describe it....maybe a square with legs) and screwed together with 3 inch outdoor decking screws into pre-drilled holes. (to avoid splitting the wood). Next another H configured piece is put together. The two pieces are then laid on top of each other and outdoor, rust resistant hinges are used to join the two pieces, or you can just have a one sided trellis which you can affix to a pre-existing fence or wall. After that step, for extra support, outdoor rust resistant corner braces can be placed over every corner where two pieces of wood meet and screwed in to provide extra support.

Ok, so now you have a 2 giant pieces....I left out the size because it will depend on how high you want to go..I chose 8 feet high and 6 feet wide. I was going to do 8 feet wide but in a moment of clarity I realized just as I was going to screw the pieces together that it would of been myself who was screwed when I constructed a trellis in the basement that would not fit out the door. Embarrassment avoided. Next step is your actual trellising material. I use 2 x 4 inch holed outdoor welded fencing wire which comes in many different sizes. Next I lay the wire out over the trellis. Cut with wire snips. Fix to trellis with mending plates and also under the corner braces (so don't put them on till youhave your welded wire cut and laid out over the frame).....and voila....a trellis fit for the neediest of peas.

Thats it for now. I just realized that we need two more trellises.


Thursday
Feb172011

Dreaming of Spring Potatoes

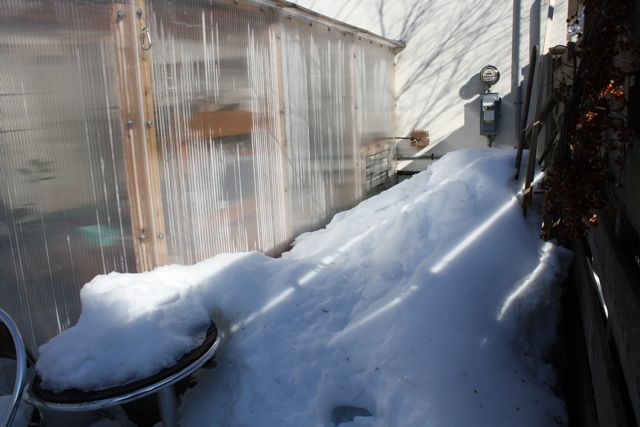
As the snow around the greenhouse reaches the four foot mark and it seems all hope of growing anything is lost....an idea. OK, it was not my idea. Truthfully, I can not remember where I read the idea to try this. That being said, if whoever had the idea is one of the few but lucky who actually read this post, I will give you all the credit.

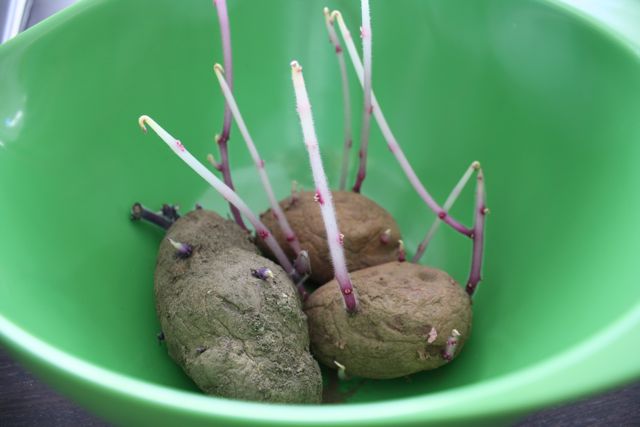
In our root cellar, some of our potatoes have begun to sprout. Some have 5 or 6 eyes and seem like they really are itching to be planted, so, I decided to plant them. Now I did not want to take up any of the limited but valuable greenhouse space for what would be months. Not to mention the other half of Hook Mountain Growers was determined to plant the rest of the lettuce seedlings in every available inch of space. So I decided to take on an experiment. As I said previously, I saw this written by someone, somewhere on some website.

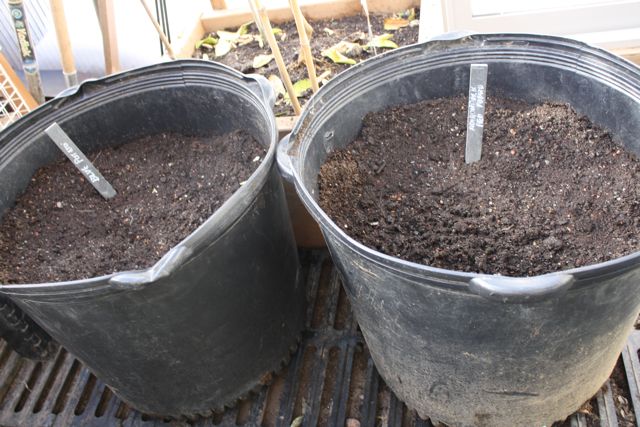
I found two large buckets about 18 inches wide by 16 inches high. They were actually left over from a delivery of evergreens many years ago. So after scrounging around for some good soil to place in the buckets....not an easy task when the ground is frozen...I finally found enough to load both buckets up. After filling the buckets 2/3rds of the way to the top it was time to plant. I found what looked like the healthiest potatoes in the root cellar, cut them into pieces with at least two eyes on each and planted 3 in each bucket. If you have not grown potatoes before, the reason I only filled the buckets up 2/3rds of the way was so that I could hill, or basically put more soil covering the plant, after it reaches about 8-10 inches in height. Often the potato will grow many of its tubers in this hilled up area. Both buckets were then placed in a sunny area, doused with a nutrient drench and told I would like them to produce 12 pounds of potatoes each.

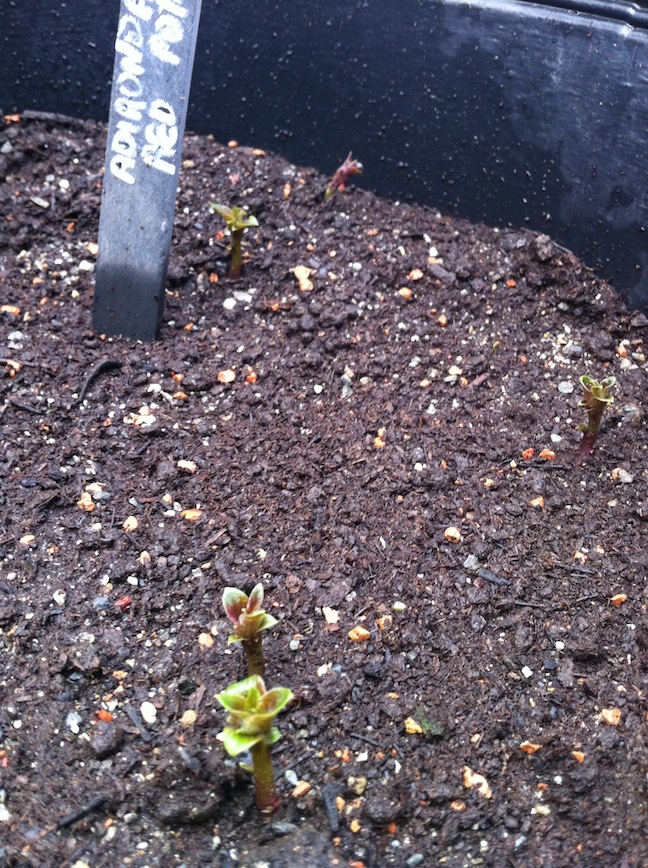
If they were listening, we should have beautiful Adirondack Red and Blue potatoes ready for eating in the late spring. We shall see.....